Leave Your Message

7 Tips for Buying the Best Small Ice Maker?

Choosing the best Small Ice Maker begins with a realistic look at your daily routine. A compact machine may promise fast production, but countertop space, noise, cleaning, and storage capacity matter just as much. Appliance consultant Elena Marquez puts it plainly: “Buy for your daily ice habit, not the biggest number on the box.”

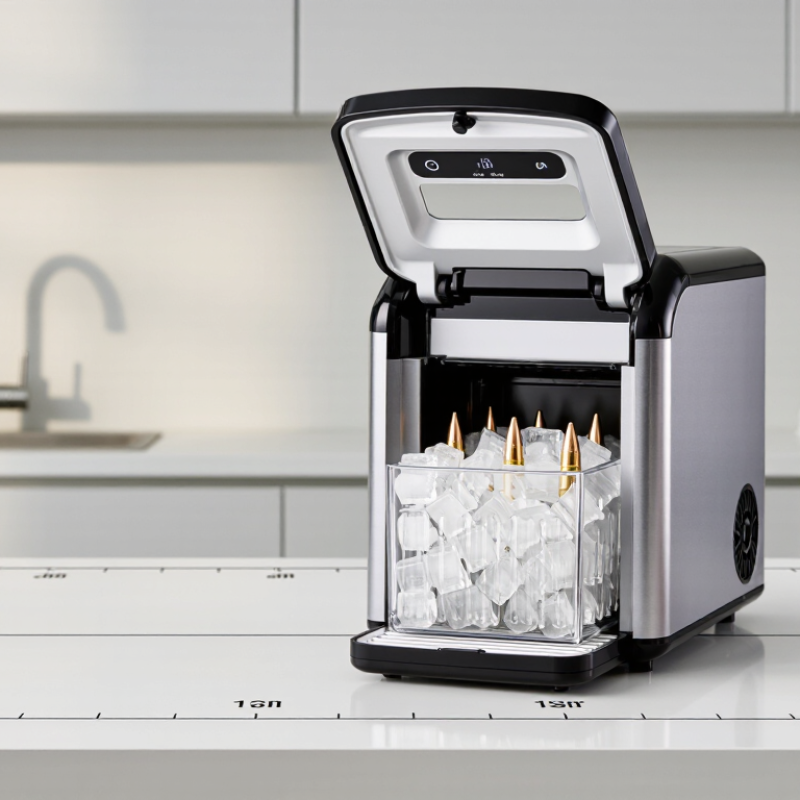
That advice deserves attention. A household hosting weekend guests needs different performance from a person filling one travel cup. Check the machine’s first-cycle time, twenty-four-hour output, water-reservoir size, and ice-basket capacity. Numbers can mislead. A machine producing bullet-shaped ice quickly may still struggle during a long afternoon gathering.

Look closely.

The best Small Ice Maker should fit beneath your cabinets, leave room for ventilation, and operate without an irritating compressor hum. Measure the counter before ordering. Then inspect the drainage process, because leftover water can become an unpleasant cleaning chore. Removable parts, clear instructions, and accessible filters usually make ownership easier.

Ice texture also deserves practical attention. Nugget-style ice feels soft and chewable, while bullet ice melts faster in many drinks. Neither option is automatically better. It depends on your habits. Reviews can help, but they may overlook durability after six months. That is where many buying guides feel incomplete.

These seven tips will examine capacity, speed, ice style, noise, maintenance, energy use, and warranty support. Some recommendations may seem obvious. They are still easy to ignore when an attractive price appears. A careful purchase is not always the cheapest one. It is the model that keeps producing clean, usable ice without becoming another appliance you avoid.

7 Tips for Buying the Best Small Ice Maker?

Define Your Need: Compare 26–35 lb/Day Production With Daily Ice Demand

7 Tips for Buying the Best Small Ice Maker?

Define Your Need: Compare 26–35 lb/Day Production With Daily Ice Demand

Buying the best small ice maker starts with measuring your real daily demand. A 26–35 lb/day rating equals roughly 11.8–15.9 kilograms. However, that figure usually reflects controlled testing conditions. Warmer rooms, poor ventilation, and frequent lid opening can reduce actual production. Your kitchen may perform differently.

For two adults, 4–6 pounds of ice may cover ordinary drinks each day. A weekend gathering can quickly consume 10–15 pounds. Do not assume a 35-pound rating means the storage bin holds 35 pounds. Many compact units produce ice gradually and store only part of that amount. Check both daily production and bin capacity. The gap matters.

EPA ENERGY STAR data shows certified commercial ice makers use about 15% less energy and 10% less water than standard models. That supports comparing efficiency, not only output. AHRI Standard 810 also emphasizes standardized testing for ice-making performance. Still, testing cannot fully copy your home. A 26-pound machine may suit light use, while frequent entertaining may justify 35 pounds. I would question any estimate that ignores melted ice, refill time, or peak demand. One busy afternoon can expose a weak capacity choice.
Measure the Space: Confirm Footprint, Clearance, and 120V/60Hz Compatibility

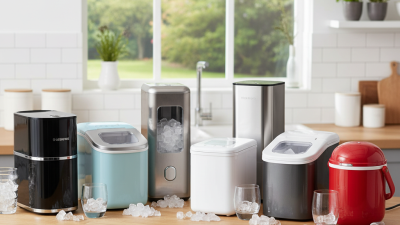
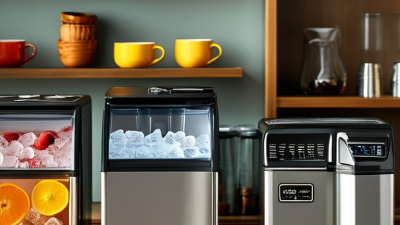
Before choosing a small ice maker, measure the space where it will operate. Record the width, depth, and height, then compare them with the unit’s actual dimensions. Product measurements sometimes exclude handles, plugs, or raised feet.

Leave room around the machine for airflow and easy cleaning. A tight corner can trap heat and reduce performance. Keep several inches above and behind the unit, unless the manual specifies different clearance. Also measure the doorway, counter edge, and cabinet opening. I once measured the counter but forgot the cabinet door swing. That mistake made daily use awkward.

Check the electrical requirements before ordering. Most household models need a grounded 120V outlet and a 60Hz supply. Do not assume every outlet is suitable. Read the rating label or instruction manual carefully, especially in older homes or areas with different electrical standards. Avoid extension cords unless the manufacturer permits them. Confirm the outlet sits close enough to prevent cord strain, but not so close that ventilation is blocked. A level surface matters, too. Uneven counters may cause vibration, noise, or inconsistent operation. Small details matter.

Measure Before You Buy: Small Ice Maker Fit Check

Compact countertop ice makers commonly occupy about 10–14 inches in width, 13–16 inches in depth, and 13–15 inches in height. Measure the available area, add clearance for ventilation and the lid, and confirm that the outlet supplies 120V at 60Hz before purchasing.

Planning example: reserve approximately 14 inches of width, 18 inches of depth, and 17 inches of vertical clearance for a typical compact unit plus working space. Always verify the appliance specification and your available outlet.

Check Safety: Choose NSF/ANSI 12 Equipment and Follow the FDA’s 41°F Rule

When buying a small ice maker, safety deserves more attention than output speed.

NSF/ANSI 12 covers automatic ice-making equipment, including materials, construction, and sanitary design. Look for accessible ice-contact surfaces, sealed fittings, and a bin that can be cleaned without awkward tools. Certification is helpful, but it is not a substitute for inspection.

The FDA Food Code 2022 requires temperature-controlled foods to stay at 41°F (5°C) or below. This rule matters when your machine uses chilled water, stores ingredients nearby, or sits in a shared food-preparation area. Keep a small, calibrated thermometer close to the unit. Check the surrounding storage temperature, not only the ice itself. That distinction is easy to miss.

The CDC estimates that about 48 million Americans experience foodborne illness each year.

Poorly maintained ice equipment can add avoidable contamination risks. Clean the bin, scoop, drain, and water-contact parts according to the manual. Wash your hands before handling the scoop, and never leave it buried in the ice. I would also check for hidden moisture under the machine. That step feels minor, yet damp surfaces can support residue and odor. A certified unit can still become unsafe when cleaning is delayed.

Compare Efficiency: Review kWh Ratings Under DOE Ice-Maker Test Procedures

Buying the best small ice maker starts with its energy data, not its fastest cycle. Check the reported kWh rating and identify the exact DOE ice-maker test procedure used. A number is useful only when its testing conditions are clear. Compare machines tested at similar room temperatures, ice production rates, and storage settings.

Look for the measurement period. Some specifications report daily energy use, while others use a fixed production quantity. Keep the units consistent before comparing prices. A lower kWh figure may hide slower output or smaller ice batches. Check rated capacity, cycle time, water volume, and standby consumption together. Small details matter.

I once focused too heavily on hourly output. That was a mistake. The machine ran more often than expected in a warm kitchen. DOE results create a fair reference, but home conditions can change performance. Ask whether the rating includes ice harvesting, cooling, and idle operation. Also inspect the test temperature and ice size. Smaller cubes may freeze faster. That does not always mean better value. Choose a model whose measured efficiency matches your daily demand, available counter space, and tolerance for noise. Keep the efficiency label and manual for later comparison.

Verify Durability: Look for UL 563 Certification and Transparent Warranty Terms

A small ice maker can look sturdy on a kitchen counter yet fail under daily heat, dust, and repeated water cycles. Check whether it carries a current UL 563 certification, or an equivalent safety listing recognized in your market. Do not rely on a printed logo alone. Ask for the certification number and verify it through the testing organization’s public directory. UL 563 focuses on safety requirements for ice-making equipment, including electrical and mechanical risks.

Durability also depends on operating conditions. ENERGY STAR’s commercial ice-machine criteria report that qualified equipment can use about 15% less energy and 10% less water than standard models. However, countertop machines may fall outside that program. Treat the figures as useful context, not a promise. Look for corrosion-resistant panels, firmly seated hinges, accessible filters, and a water reservoir that is easy to clean. Small details matter.

Read the warranty before paying. A reliable policy should state coverage length, parts and labor, compressor protection, shipping responsibility, and service response times. “Limited warranty” can hide serious exclusions. Photograph the unit during setup and keep purchase records. That habit has helped me resolve unclear claims, though it cannot fix poor support. A short warranty is not automatically bad, but unexplained exclusions deserve caution. Ask one uncomfortable question: who pays when the machine fails during ordinary home use?

7 Tips for Buying the Best Small Ice Maker? – Verify Durability: Look for UL 563 Certification and Transparent Warranty Terms

Tip Buying Dimension Practical Benchmark What to Check Before Buying
1 Safety Certification Look for a clearly identified certification mark and a valid listing to UL 563 or the applicable current ice-maker safety standard. Check the rating label, user manual, and certification database. Avoid listings that only say “tested to” or “meets standards” without traceable certification information.
2 Warranty Transparency A clearly stated limited warranty commonly covers the unit for about 12 months, but coverage length and exclusions vary by seller and product. Confirm the warranty period, covered parts, labor coverage, shipping responsibility, proof-of-purchase rules, service process, and exclusions before checkout.
3 Ice Production Capacity Compact countertop models often advertise approximately 20–30 lb of ice production in 24 hours under specified test conditions. Treat the published capacity as a laboratory or ideal-condition figure. Check the stated room temperature, water temperature, cycle assumptions, and whether the unit stops when the basket is full.
4 Cycle Speed A first batch may take roughly 6–12 minutes, depending on ambient temperature, water temperature, ice size, and machine condition. Review the manual for cycle-time conditions. Faster cycles do not automatically indicate better durability, so also check compressor, ventilation, and maintenance requirements.
5 Ice Storage and Melt Handling Many small units hold approximately 1.5–3 lb of ice in the internal basket and are not designed for long-term frozen storage. Confirm the basket capacity, full-basket sensor, drainage method, and whether melted water returns to the reservoir. Transfer unused ice to a freezer when solid storage is needed.
6 Electrical and Ventilation Requirements Small countertop units commonly use a standard household supply, often 120 V and 60 Hz in North American markets. Airflow clearance is essential. Match the voltage and frequency to the destination outlet. Follow the manual’s clearance instructions, keep vents unobstructed, and do not use an extension cord unless specifically permitted.
7 Maintenance and Serviceability Regular cleaning, descaling, and complete drying help reduce mineral buildup, odor, microbial growth, and premature component wear. Look for removable food-contact parts, a documented cleaning procedure, accessible drain plugs, replacement-part information, and a service contact that remains available after purchase.

Specifications and warranty terms vary by model and market. Always verify the final product label, technical manual, certification record, and written warranty before purchase.